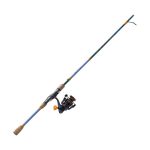
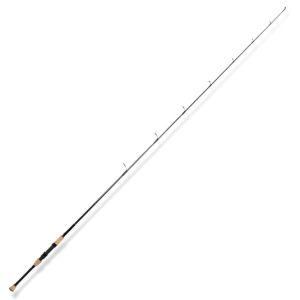
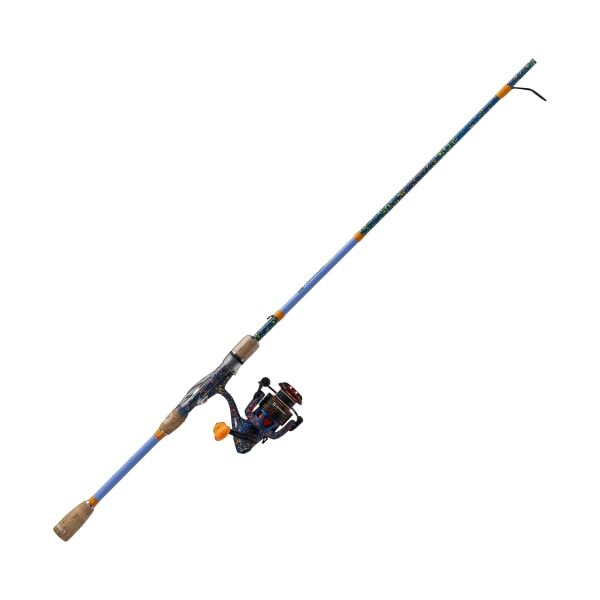
Fishing is a beloved pastime for many, offering both relaxation and excitement. However, over time, even the most well-crafted fishing rods can suffer from wear and tear. Consequently, having a fishing rod repair kit on hand ensures that you can quickly address any issues and maintain the functionality of your equipment. Therefore, understanding the components of a repair kit, how to use them, and tips for effective maintenance is crucial for avid anglers. This comprehensive guide explores the essential tools included in a fishing rod repair kit, step-by-step repair techniques, and best practices for rod maintenance. By delving into these aspects, you can ensure your fishing trips remain enjoyable and uninterrupted.
Essential Tools in a Fishing Rod Repair Kit
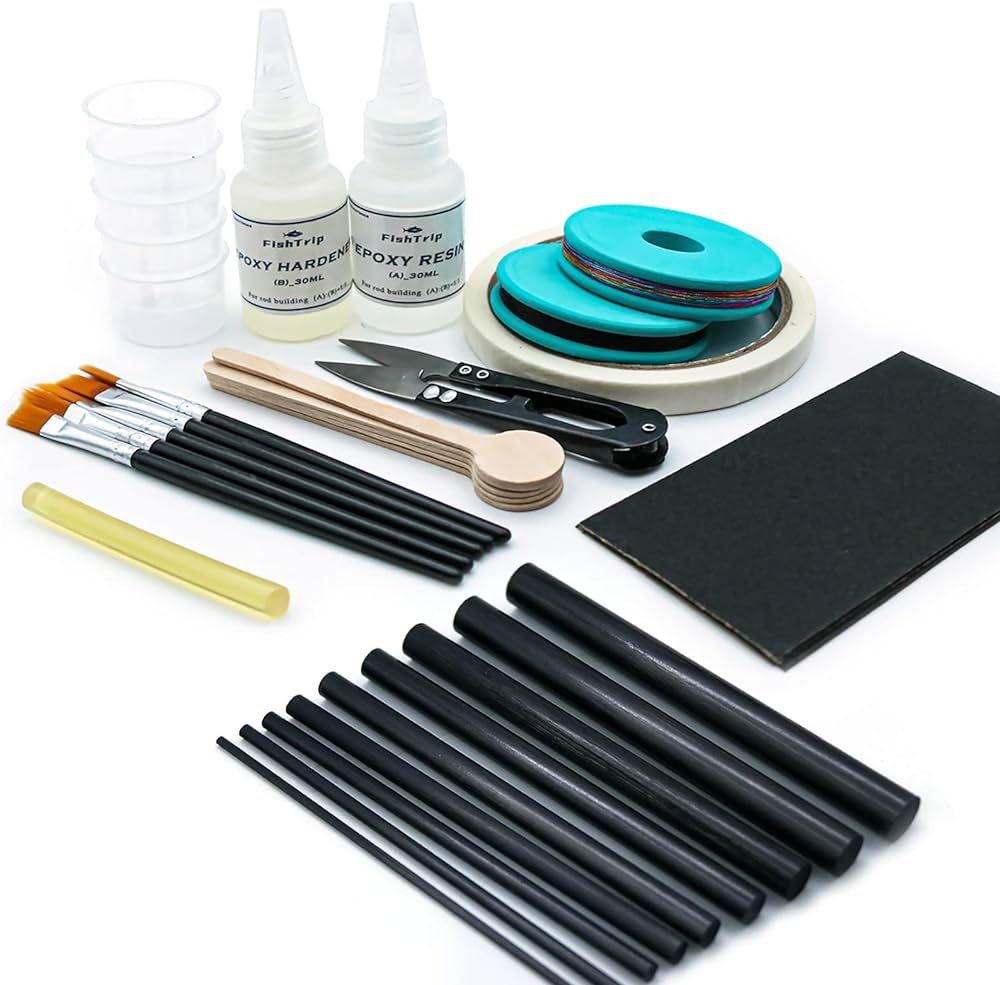
A well-equipped fishing rod repair kit contains various tools designed to address common issues such as broken guides, damaged tips, and cracked blanks. Understanding these tools helps ensure efficient and effective repairs. Therefore, exploring the essential tools is crucial.
Guide Replacement Tools
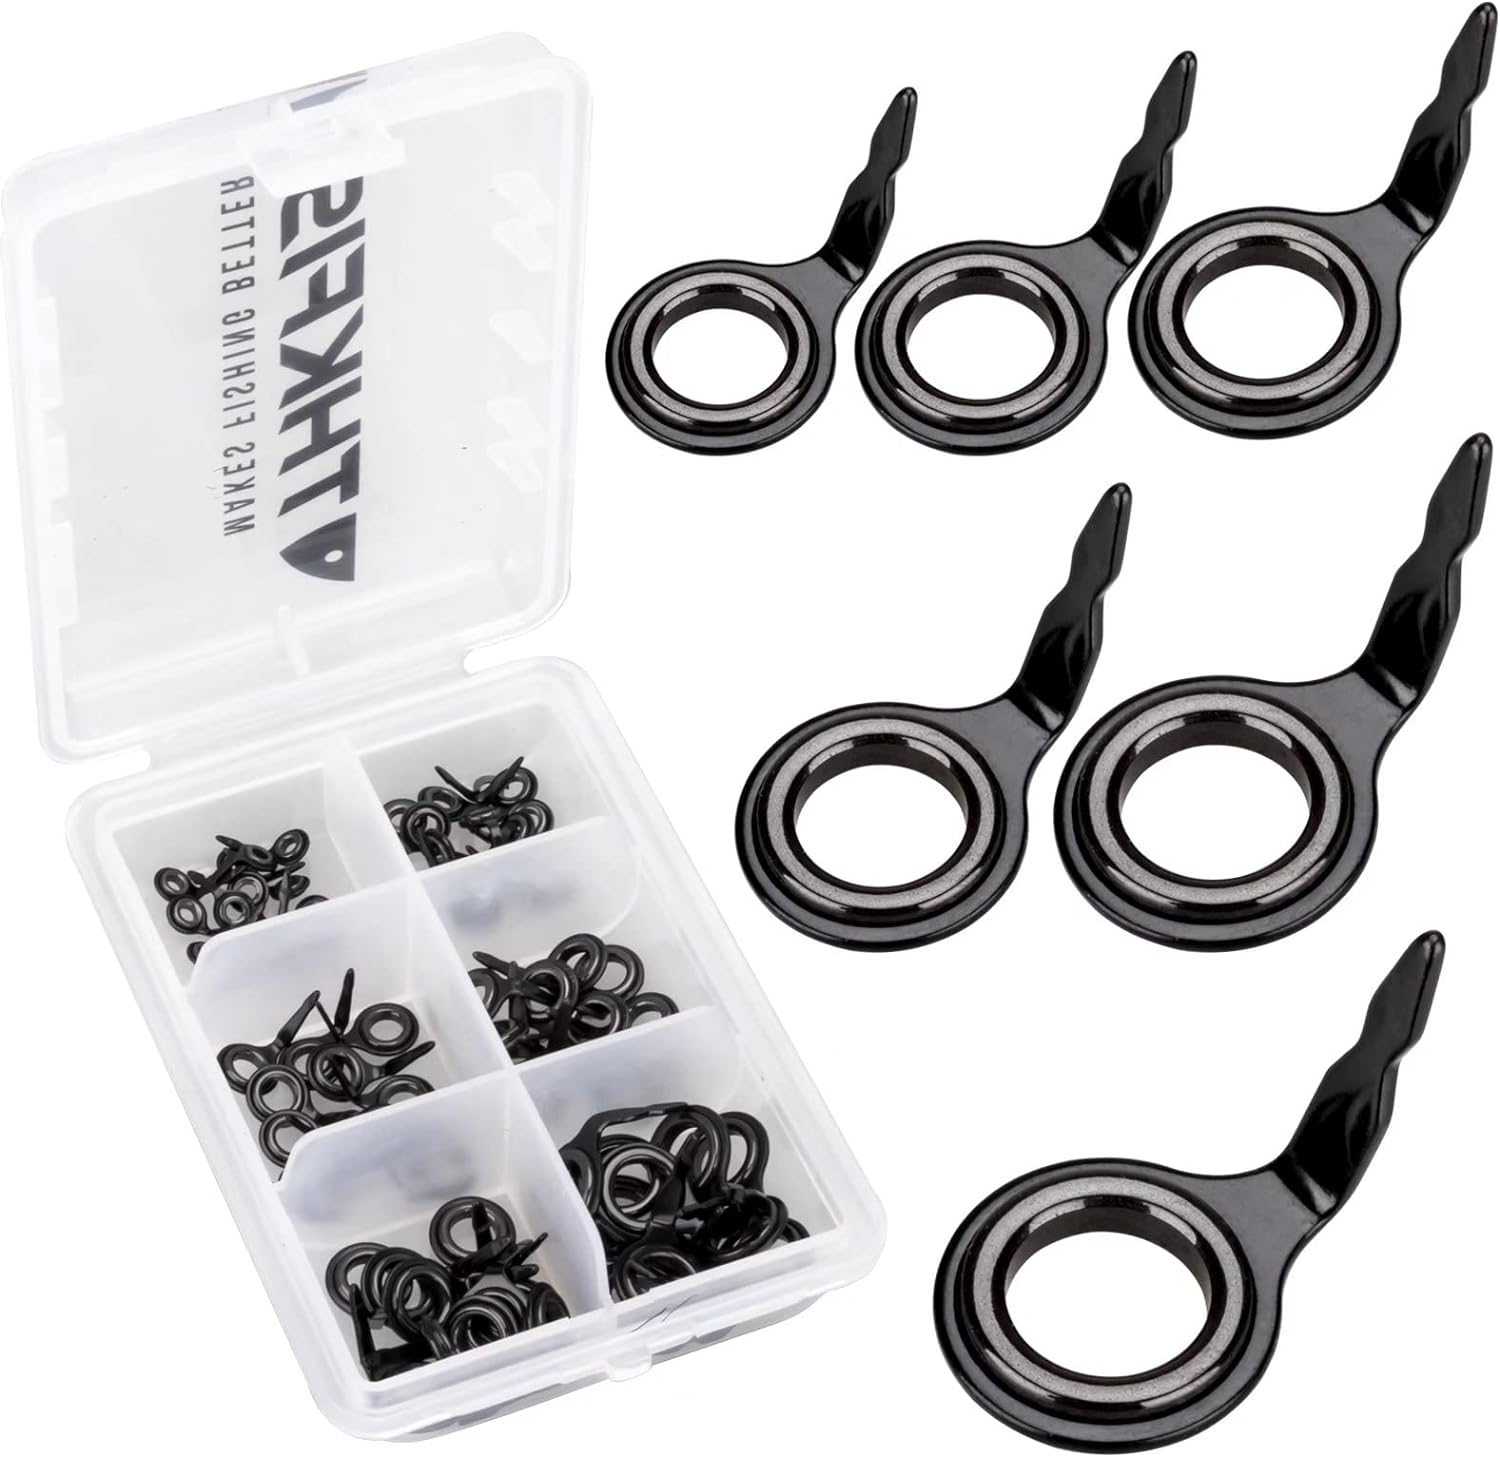
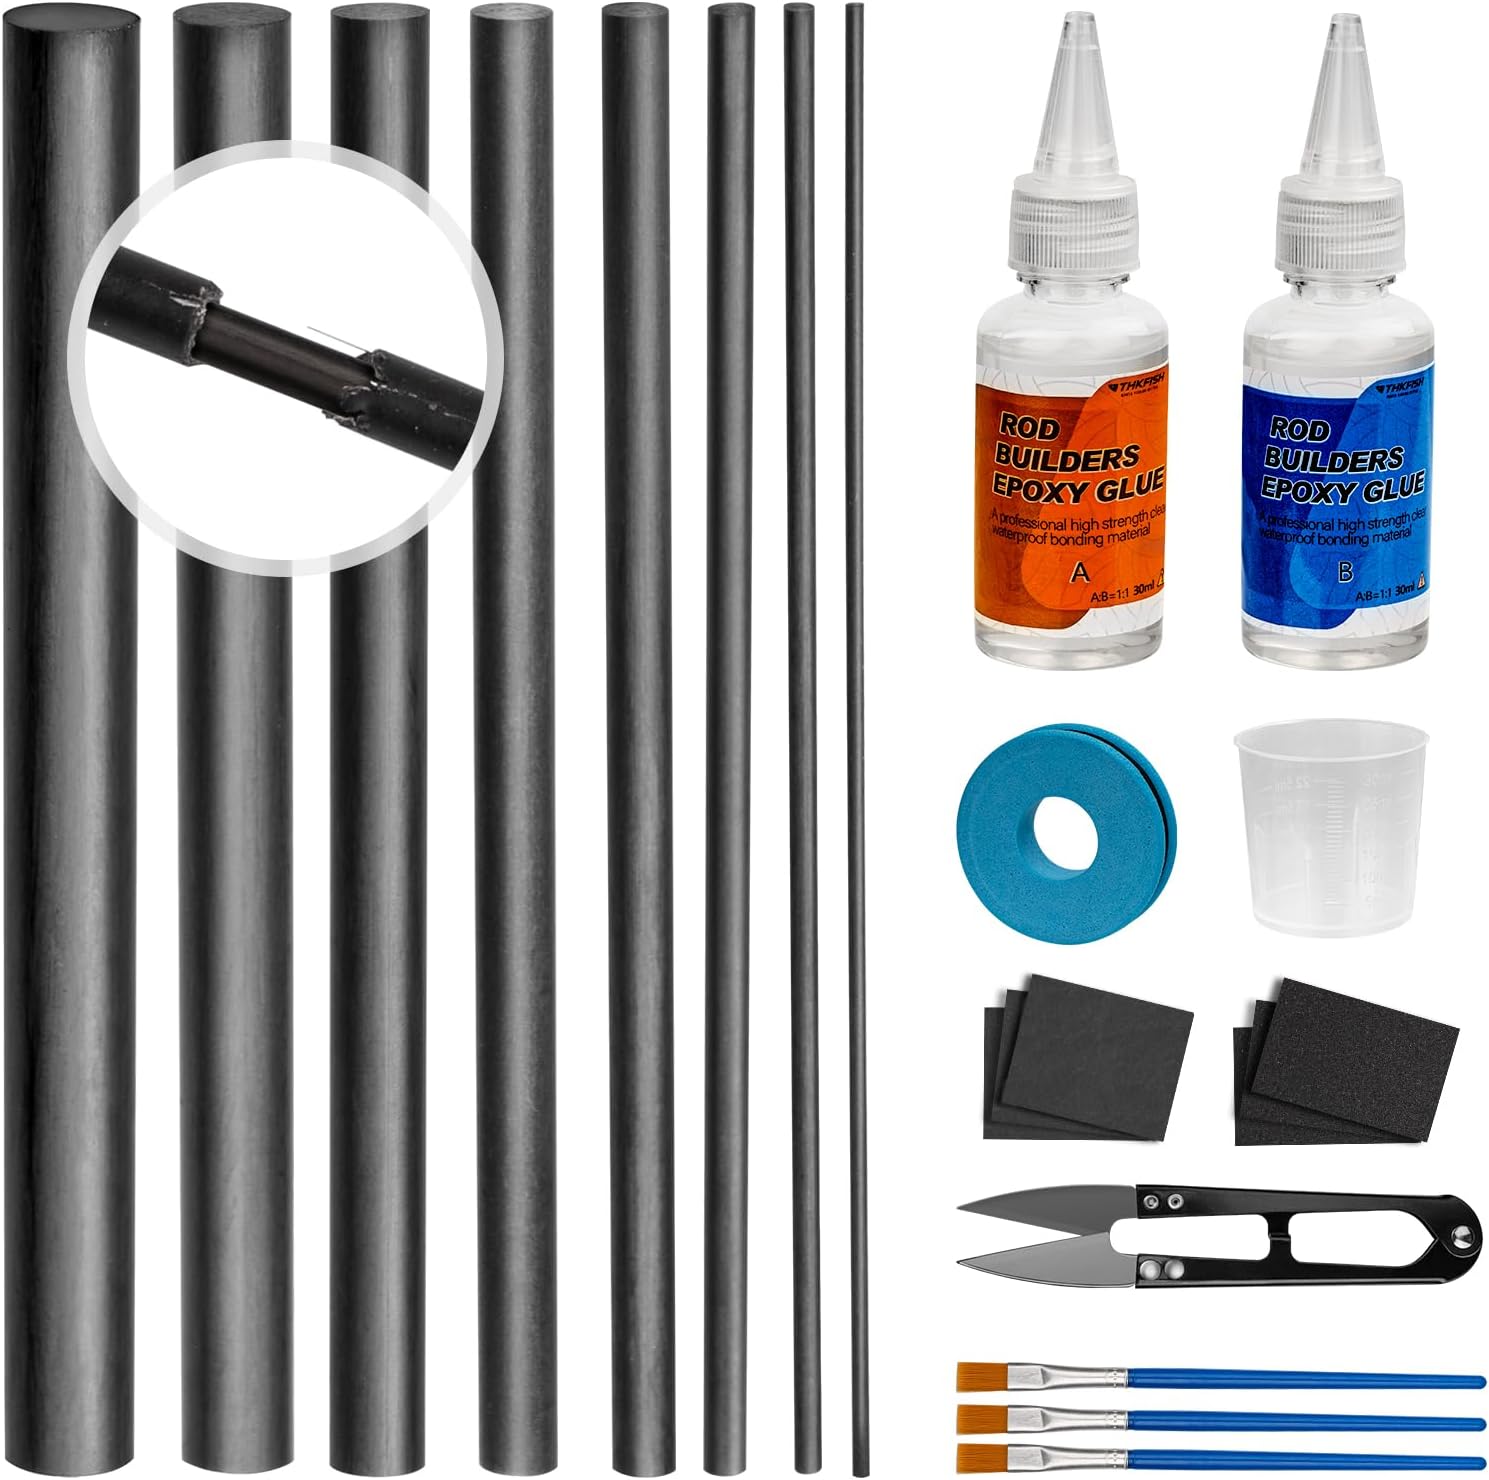
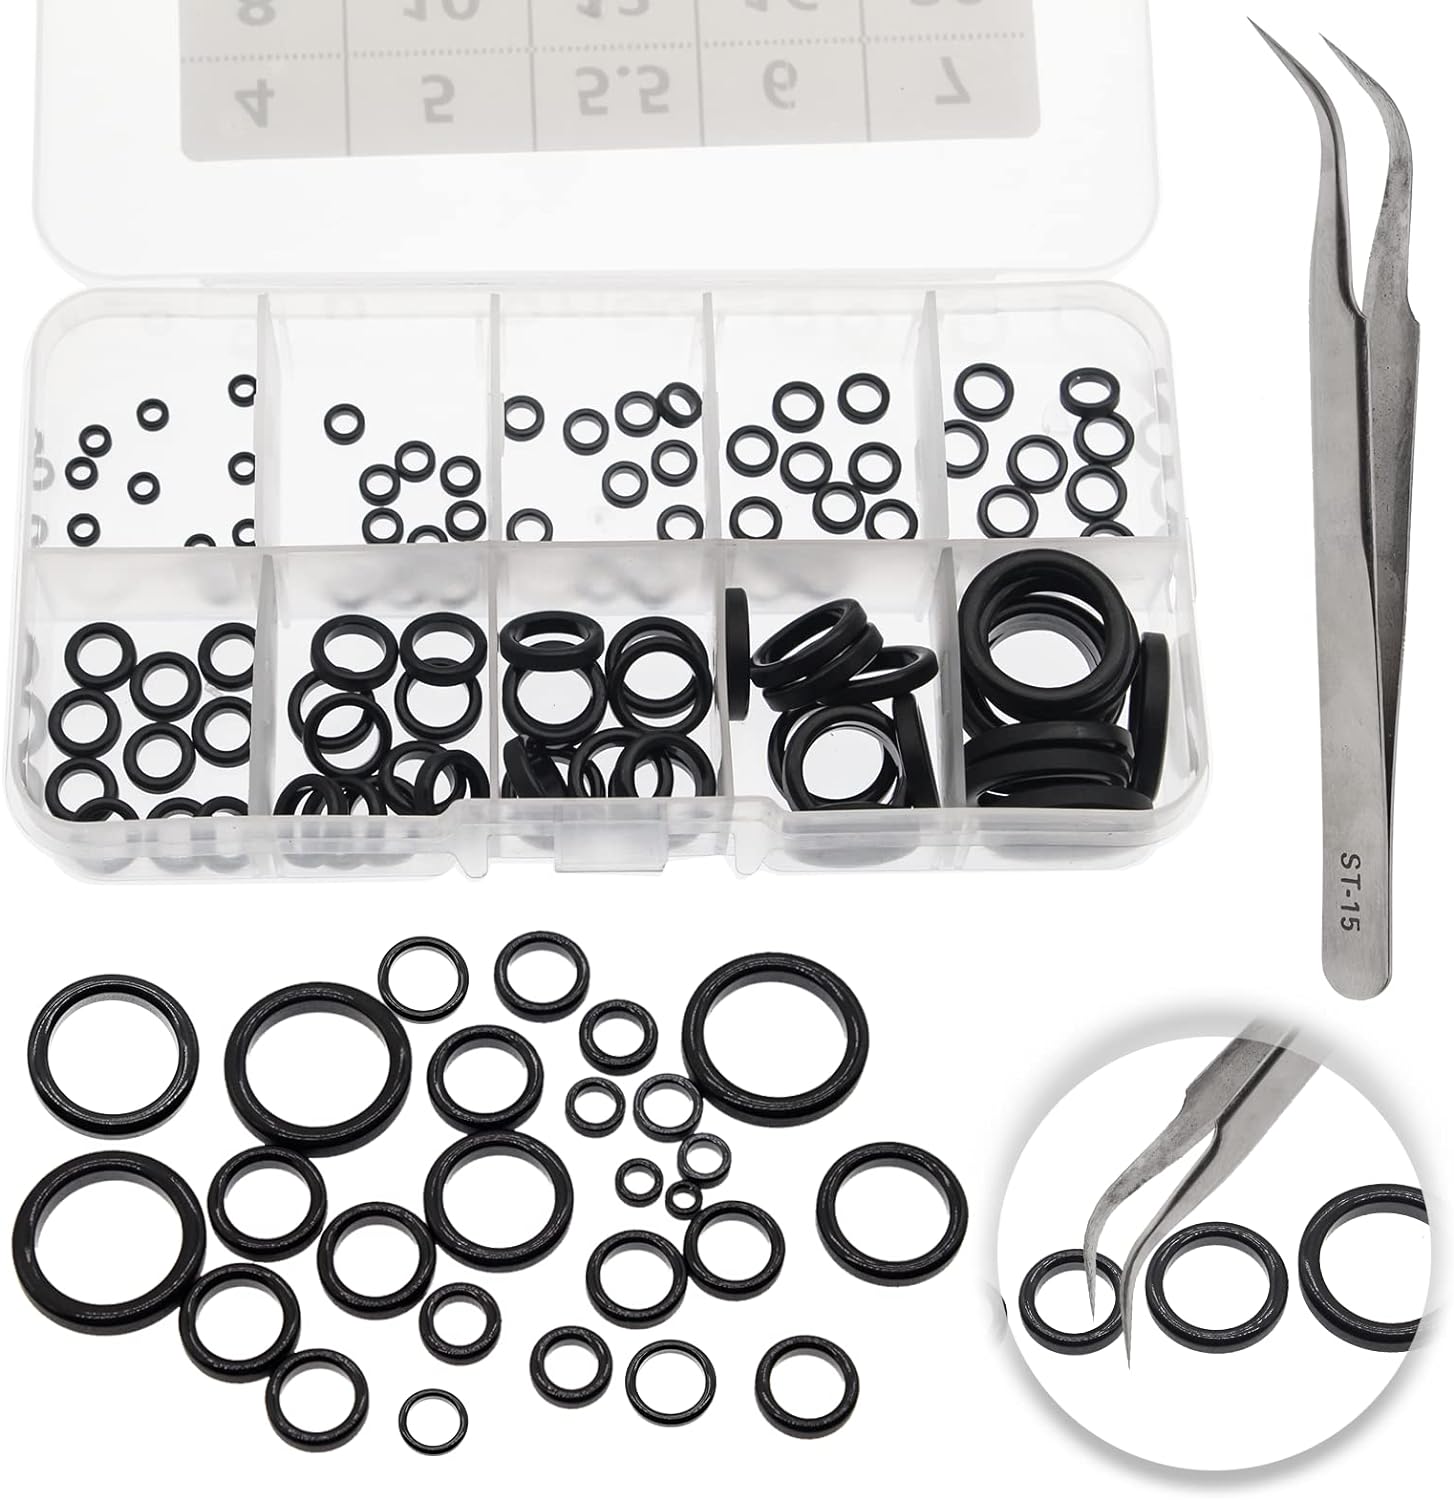
Fishing rod guides are vital components that direct the fishing line along the rod, ensuring smooth casting and retrieval. Over time, guides may become damaged or lose their alignment. A repair kit should include replacement guides of various sizes to match the rod’s specifications. Additionally, guide replacement tools such as guide pullers, thread, and epoxy are necessary for securing new guides in place. A thread burnisher helps smooth the threads once wound, ensuring a neat finish. By understanding the importance of guide replacement tools, you can maintain the performance and longevity of your fishing rod. Therefore, recognizing the value of these tools is essential.
Tip Repair Tools
The tip of a fishing rod is susceptible to breaking, especially during transport or vigorous use. A repair kit should include tip tops of different sizes, a rod tip adhesive, and a heat source such as a lighter or heat gun. The tip adhesive is used to secure the new tip top in place, while the heat source helps melt the adhesive for a strong bond. Having a variety of tip tops ensures that you can find the correct size match for your rod. By understanding the significance of tip repair tools, you can quickly address tip damage and get back to fishing. Therefore, recognizing the necessity of these tools is crucial.
Other Essential Tools
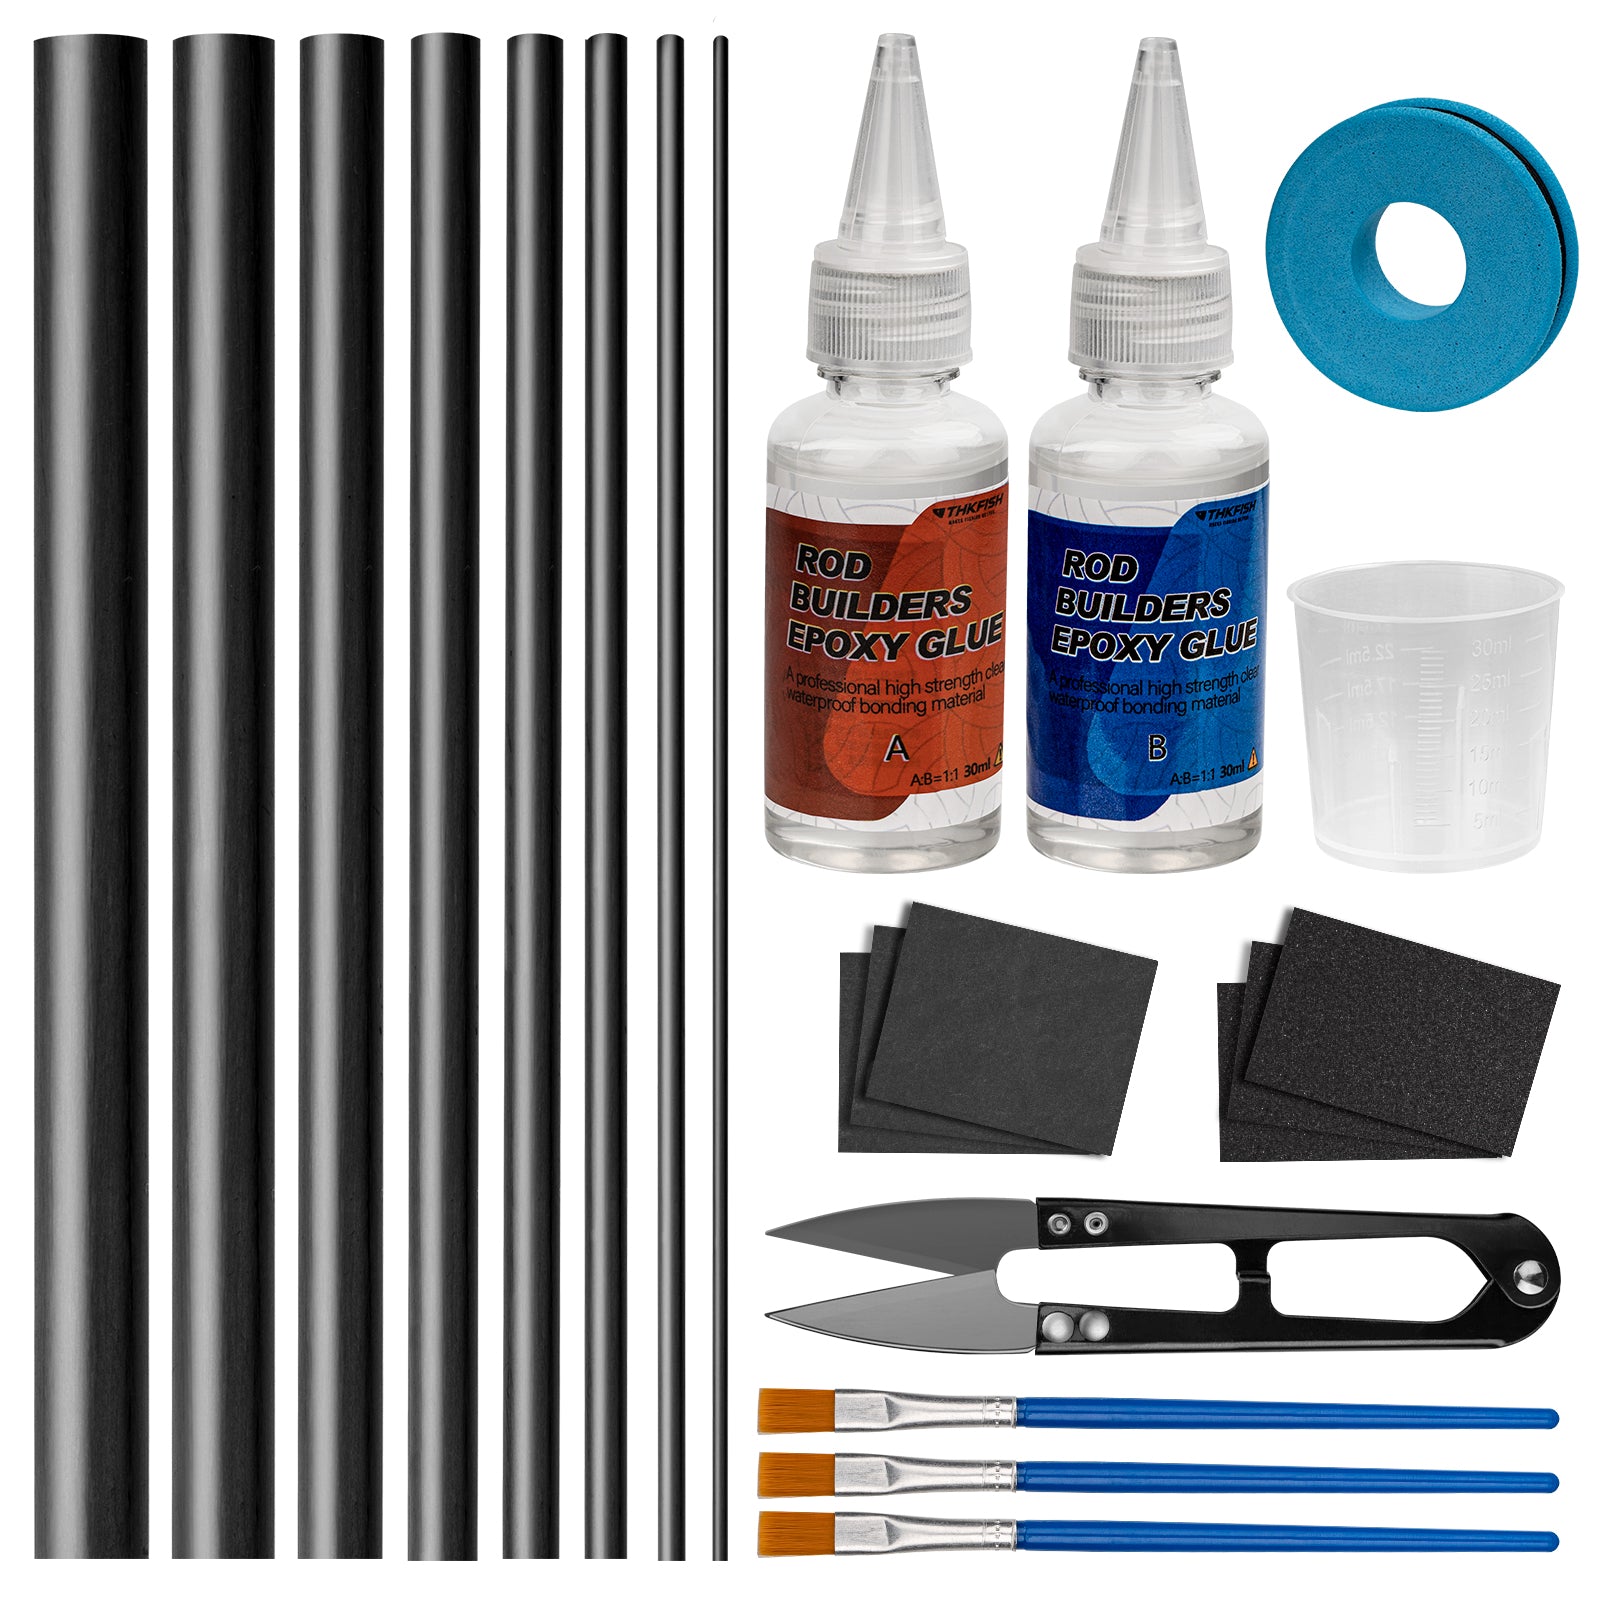
Aside from guide and tip repair tools, a comprehensive fishing rod repair kit should include various other essential tools. A small file or sandpaper helps smooth any rough edges or surfaces on the rod. Needle-nose pliers are useful for gripping and manipulating small components during repairs. A utility knife or scissors allows for precise cutting of thread or tape. Additionally, finishing materials such as rod varnish or epoxy finishing resin provide a professional-looking finish to repairs. By understanding the importance of these essential tools, you can ensure your repair kit is well-rounded and capable of addressing various issues. Therefore, recognizing the value of a complete set of tools is essential.
Step-by-Step Guide to Common Fishing Rod Repairs
Executing common fishing rod repairs involves following specific steps to ensure a successful outcome. Understanding these steps helps achieve professional and durable results. Therefore, exploring the step-by-step guide to repairs is essential.
Replacing Broken Guides
- Remove the Damaged Guide: Use a utility knife or scissors to carefully cut and remove the old thread and adhesive holding the damaged guide. Ensure you do not damage the rod blank in the process.
- Select a Replacement Guide: Choose a replacement guide of the correct size and style. Position the new guide in place and hold it securely.
- Wrap the Thread: Wind rod thread around the guide foot and rod, starting from the base and working your way upwards. Ensure even and tight wraps for stability.
- Apply Epoxy: Mix the epoxy adhesive according to the manufacturer’s instructions. Apply a thin layer over the thread wraps, ensuring full coverage.
- Smooth and Cure: Use a thread burnisher to smooth the thread wraps, then allow the epoxy to cure for the recommended time. Check for any misalignments and make necessary adjustments.
By understanding the steps for replacing broken guides, you can restore the functionality and appearance of your fishing rod. Therefore, recognizing the importance of detailed execution is crucial.
Repairing a Broken Rod Tip
- Remove the Old Tip: Use a heat source such as a lighter or heat gun to gently heat the damaged tip top. This will soften the adhesive, allowing you to remove the old tip with needle-nose pliers.
- Select a New Tip: Choose a replacement tip top that matches the size and style of the original. Ensure a snug fit over the rod’s end.
- Apply Tip Adhesive: Heat the rod tip adhesive until it becomes pliable. Apply a small amount of adhesive inside the new tip top and on the rod’s exposed end.
- Attach the New Tip: Slide the new tip top over the rod’s end, ensuring it is aligned properly. Hold it in place until the adhesive cools and sets.
- Check Alignment: Ensure the new tip top is aligned with the other guides on the rod. Make any necessary adjustments before the adhesive fully hardens.
By understanding the steps for repairing a broken rod tip, you can quickly and effectively address tip damage. Therefore, recognizing the importance of proper technique is crucial.
Best Practices for Fishing Rod Maintenance
Adopting best practices for fishing rod maintenance helps prevent damage and prolong the life of your equipment. Understanding these practices ensures optimal performance and reliability. Therefore, exploring maintenance tips is essential.
Regular Cleaning and Inspection
Regular cleaning and inspection of your fishing rod are crucial for identifying potential issues and maintaining its condition. After each fishing trip, rinse the rod with fresh water to remove salt, dirt, and debris. Use a soft cloth to wipe down the rod, guides, and handle, ensuring all components are clean and dry. Inspect the guides for any signs of wear or damage, such as cracks or loose threads. Check the reel seat and handle for any looseness or damage. By understanding the importance of regular cleaning and inspection, you can proactively address any issues and maintain the rod’s performance. Therefore, recognizing the value of routine maintenance is crucial.
Proper Storage
Proper storage of your fishing rod prevents damage and ensures its longevity. Store the rod in a cool, dry place away from direct sunlight and extreme temperatures. Use a rod rack or holder to keep the rod horizontal and avoid bending or warping. If possible, store the rod in a protective case or sleeve to prevent scratches and impacts. Avoid placing heavy objects on the rod, as this can cause stress and damage. By understanding the importance of proper storage, you can safeguard your fishing rod from unnecessary wear and damage. Therefore, recognizing the necessity of careful storage is essential.
Handling with Care
Handling your fishing rod with care during transport and use helps prevent accidents and damage. When transporting the rod, secure it in a rod case or holder to prevent movement and impacts. Avoid excessive pressure on the rod, especially near the tip and guides. During use, handle the rod gently, avoiding rough or abrupt movements that could cause damage. Be mindful of where you place the rod when not in use, ensuring it is in a safe and secure position. By understanding the importance of careful handling, you can minimize the risk of damage and maintain the rod’s condition. Therefore, recognizing the value of gentle handling is crucial.
Addressing Common Questions About Fishing Rod Repair
Understanding common questions about fishing rod repair provides clarity and enhances knowledge. Knowledge of these answers ensures better preparation and practice. Therefore, exploring common questions is essential.
Can All Rods Be Repaired?
While many fishing rod damages can be repaired successfully, some severe damages may render the rod irreparable. Common issues such as broken guides, damaged tips, and minor cracks can often be addressed with a repair kit. However, extensive damage to the rod blank, such as severe cracks or fractures, may compromise the rod’s structural integrity and performance. In such cases, replacing the rod may be the best option. By understanding the limitations of repair, you can make informed decisions about maintaining or replacing your fishing rod. Therefore, recognizing the scope of repair possibilities is crucial.
How Long Does a Typical Repair Take?
The time required to complete a fishing rod repair varies depending on the type of damage and the repair process. Simple repairs, such as replacing a broken guide or tip, can typically be completed within 30 minutes to an hour. More complex repairs, involving multiple guides or extensive damage, may take several hours. Allowing adequate curing time for adhesives and finishes is essential, contributing to the overall repair duration. By understanding the variable nature of repair time, you can set realistic expectations and ensure thorough and effective repairs. Therefore, recognizing the importance of patience is crucial.
Addressing Common Misconceptions About Fishing Rod Repair
Addressing common misconceptions about fishing rod repair provides accurate information and dispels unwarranted concerns. Clearing up misunderstandings ensures an informed perspective. Therefore, exploring common misconceptions is important.
Misconception: DIY Repairs Compromise the Rod’s Performance
A common misconception is that DIY repairs compromise the fishing rod’s performance. In reality, when performed correctly using appropriate tools and techniques, DIY repairs can restore a rod’s functionality and maintain its performance. Understanding the proper repair methods and following step-by-step instructions ensures a high-quality outcome. Additionally, regular maintenance and timely repairs prevent minor issues from escalating into significant problems. By understanding the effectiveness of DIY repairs, you can confidently address common rod issues. Therefore, dispelling this misconception highlights the value of self-repair.
Misconception: Only Professionals Can Repair Fishing Rods
Another misconception is that only professionals can repair fishing rods effectively. While professional repair services are available and beneficial for complex issues, many common rod repairs can be successfully performed by anglers using a well-equipped repair kit and proper guidance. Online tutorials, instructional videos, and detailed step-by-step guides provide valuable resources for DIY repairs. By understanding the accessibility of fishing rod repairs, you can take control of maintaining your equipment. Therefore, dispelling this myth emphasizes the capability of DIY enthusiasts.
Conclusion: Ensuring Longevity with a Fishing Rod Repair Kit
Ensuring the longevity of your fishing rod involves understanding the essential tools included in a repair kit, step-by-step repair techniques, and best practices for maintenance. Proper preparation, including acquiring necessary tools and learning repair methods, ensures a seamless repair process.
Exploring critical aspects such as replacing broken guides, repairing rod tips, and handling regular maintenance ensures comprehensive knowledge and practice. Recognizing the importance of addressing common questions and dispelling misconceptions enhances overall confidence and readiness.
By engaging with these elements, you can efficiently maintain your fishing rod and extend its lifespan, ensuring enjoyable and uninterrupted fishing experiences. Therefore, whether you are a novice or an experienced angler, understanding the essential considerations and techniques for using a fishing rod repair kit offers practical and valuable insights. Embrace the opportunity to maintain and repair your fishing rod, knowing you have the knowledge and resources to keep it in top condition!
