Introduction to DIY Fishing Rod Rack
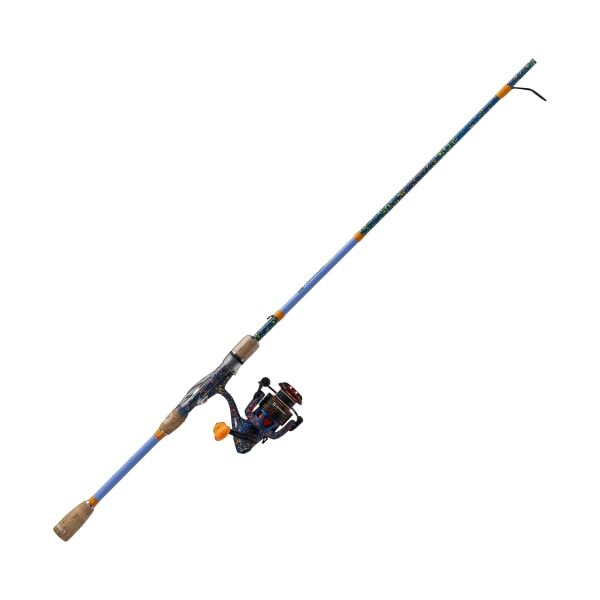
If you’re an avid angler, chances are you have quite the collection of fishing rods. Without a proper storage solution, these rods can get tangled, damaged, or even lost in the clutter. This is where a DIY fishing rod rack comes in handy. Not only does it provide a neat and organized way to display your rods, but it also protects them and offers quick access when you’re ready to hit the water.
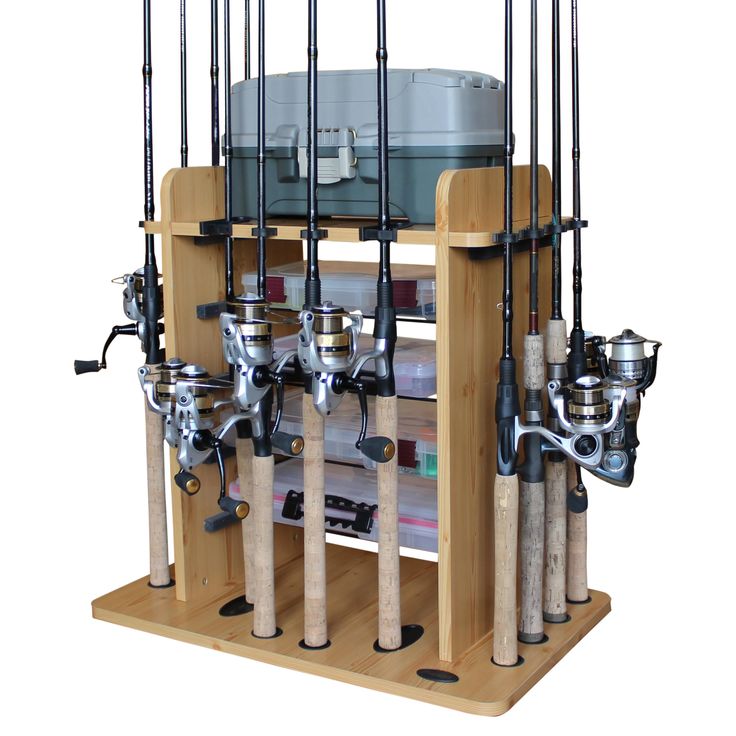
Building your own fishing rod rack is more than just a practical solution. It’s a chance to create something that’s tailor-made to fit your space and your fishing gear. Plus, it’s an enjoyable project for those who like to work with their hands. With a few supplies from your local hardware store and some basic tools, you can set up a reliable and personalized DIY fishing rod rack.
In the following sections, we’ll dive into the essential materials you’ll need, provide a step-by-step guide on constructing your rod rack, and offer some additional tips to ensure your fishing gear stays secure. So roll up your sleeves, grab your tools, and get ready to build a fishing rod storage system that’ll keep your rods in tip-top shape and ready for your next adventure.
Essential Materials for Your Fishing Rod Rack
To begin crafting your DIY fishing pole rack, gather the necessary materials. This project is straightforward and does not require a vast array of complex tools or equipment. Below is a list of essentials to get you started:
- Wooden boards: Depending on the design, you might need various sizes. You will often find 1×8 and 1×6 boards used for rod racks.
- Drill: A reliable drill will allow you to make precise holes needed for rod slots.
- Miter saw or Table saw: These will help you cut wood to exact lengths and shapes.
- Sandpaper: To smooth out all wooden surfaces and edges.
- Measuring tape and Pencil: Essential for accurate measurements and markings.
- Forstner bit or Hole saw: To create round cutouts that will hold the rods in place.
- Pocket hole jig (optional): For creating strong joints if your rack design includes them.
- Clamps, Carpenter square: Handy for keeping things aligned during assembly.
- Wood adhesive or Flex Glue: To secure wooden parts together. Flex Glue is recommended for a strong bond.
- Paint or Wood sealant: To finish the rack and protect it from moisture especially if it will be used in outdoor settings.
- Router (optional): For rounding off edges for a more finished look.
Remember to adjust the quantity and dimensions of your materials based on how many rods your rack will need to accommodate. Additionally, always wear safety gear when operating power tools and follow all manufacturer instructions carefully to prevent accidents. The goal is to create a durable and functional fishing rod rack that caters to your needs.
Step-by-Step Construction Process
Constructing a DIY fishing rod rack is a rewarding project. Here’s how to build your own step by step.
Gather Your Materials
Before starting, make sure you have all the necessary materials. Refer to the section on essential materials and double-check your list.
Measure and Cut the Wood
Using your measuring tape and pencil, mark the cutting lines on your boards. Cut the wood with a miter saw or table saw according to your measurements.
Drill Rod Slots
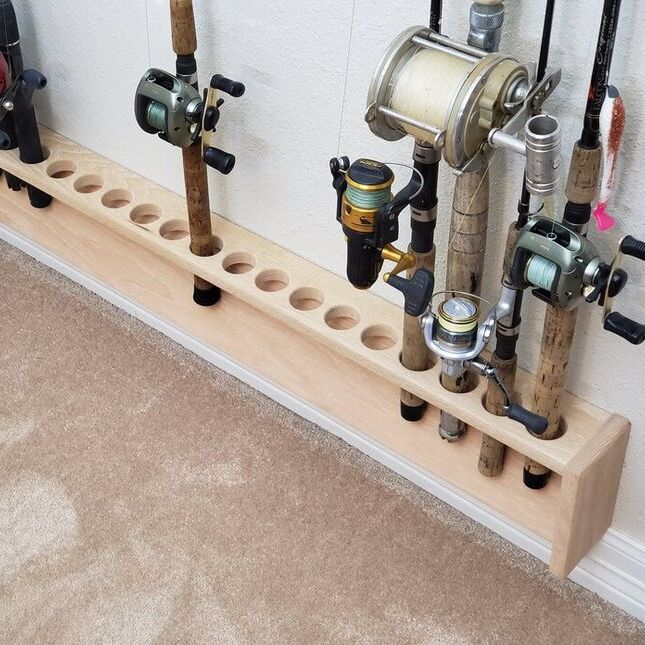
Mark the spots for the rod slots on the wood. Use a drill with a Forstner bit or hole saw to create clean, round cutouts for the rods.
Sand and Smooth
Once the cuts are made, use sandpaper to smooth all surfaces and edges. This prevents splinters and ensures that your rods don’t get scratched.
Assemble the Rack
Follow your design to assemble the rack. Use clamps and a carpenter square to keep everything aligned. Secure the pieces with wood adhesive or Flex Glue. Optionally, use a pocket hole jig for stronger joints.
Apply Finish
Protect your rod rack from moisture by applying paint or wood sealant. If the rack will be kept outdoors, a UV-resistant sealant is a good choice.
Building your own fishing rod rack is a creative way to keep your fishing gear organized and easily accessible. By following these steps, you will end up with a functional and custom-made storage solution.
Ceiling-Mounted Rod Storage Advantages
Choosing ceiling-mounted rod storage offers multiple advantages for anglers with limited space or a large collection of fishing rods. Here’s why this storage method is beneficial:
Maximizes Space
Ceiling-mounted racks utilize overhead space, leaving your floor area free. This is especially helpful in smaller spaces like garages or sheds, where floor space is precious. By storing your rods overhead, you can make room for other fishing gear and equipment.
Easy Access and Organization
Keeping rods on ceiling racks places them in plain sight and within easy reach. You can organize them by type or size, making selection hassle-free. This setup also avoids the clutter of leaning multiple rods against the walls or stacking them on the ground.
Protects Your Rods
By suspending fishing rods off the ground, ceiling-mounted systems prevent accidental damage from foot traffic or falling objects. Rods stored in this way are less likely to get tangled, bent, or broken.
Aesthetic Appeal
Ceiling racks can add a unique decorative element to your space. Displaying your rods neatly overhead can be visually pleasing and highlight your collection as part of the room’s decor.
Versatility
Ceiling-mounted racks can be designed to fit various ceiling heights and angles. Whether you have a traditional flat ceiling or a sloped one, you can customize the rack to hold your rods securely and aesthetically.
Opting for a ceiling-mounted not only optimizes space but also ensures that your fishing rods are stored in a manner that preserves their condition and accessibility.
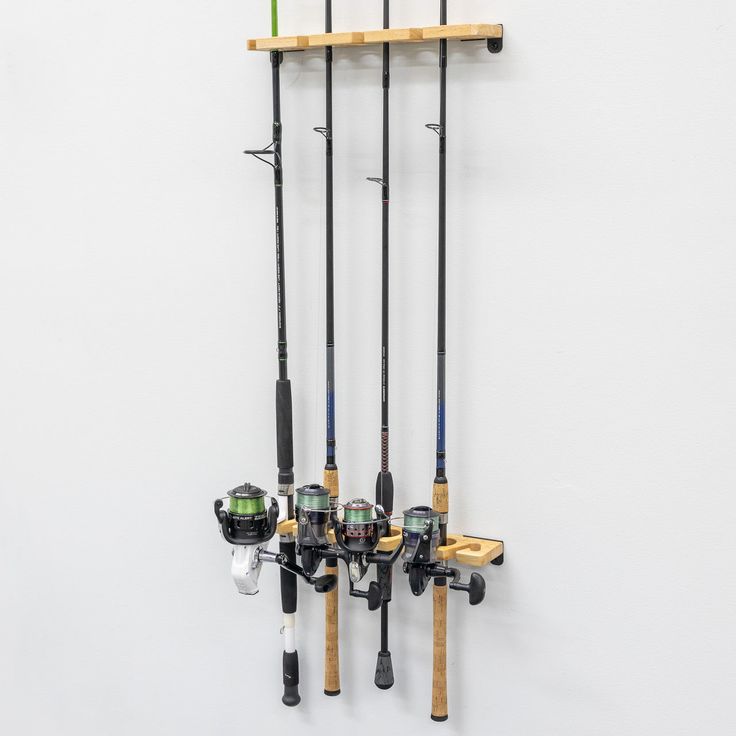
Assembling Your Ceiling-Mounted Rod Rack
Assembling your ceiling-mounted DIY fishing rod rack is a straightforward process. Here’s how to put it together:
- Preparation: Gather all your materials and tools. Make sure you have everything listed in the essential materials section.
- Mount the Bases: Locate your ceiling beams using a stud finder. Secure the galvanized floor flanges to these beams. This creates the base of your rack.
- Assemble the Pipes: Screw the 18-inch threaded pipes into the floor flanges. Attach the 90-degree elbow fittings to the tops of these pipes, then connect them using the 24-inch pipe.
- Add Protective Covering: To protect your rods, slide a pool noodle over the 24-inch horizontal pipe. This prevents any damage to the fishing rods.
- Test Stability: Ensure that you securely mount the rack and confirm its stability before adding rods. Double-check all connections.
- Organize Your Fishing Rods: Place your rods on the rack. Arrange them in a way that maximizes space and provides easy access.
By following these steps, you can efficiently create a ceiling-mounted rod rack that utilizes overhead space smartly, freeing up your floor for other uses.
Tips for Mounting and Ensuring Stability
When setting up your ceiling-mounted DIY fishing rod rack, stability is key. Here are some tips to ensure a solid and safe installation:
- Find the Studs: Use a reliable stud finder to locate the ceiling beams. Attaching to these studs is vital for a secure hold.
- Use the Right Screws: Select long, sturdy screws that can handle the weight of the rod rack and your fishing rods.
- Tighten Securely: Tighten the screws securely to ensure all parts are tightly assembled. No part should move or wobble.
- Check Weight Distribution: Place heavier rods near the center of the rack to keep the weight evenly distributed.
- Regular Inspections: Periodically check the rack for any loose parts and tighten as needed.
- Don’t Overload: Avoid placing more rods than the rack is designed to hold. This could lead to damage or collapse.
By following these tips, you’ll mount a stable rack that keeps your fishing rods safe and secure.

Customizing Rod Rack Length and Capacity
Customizing your DIY fishing rod rack allows for a perfect fit for your collection. Here’s how to tailor your rack to your needs.
Determine the Number of Rods
Start by deciding how many rods you want to store. This will dictate the rack size.
Measure Your Rods
Measure the length of your longest rod to decide the distance between rack mounts.
Calculate Spacing
Ensure your rods won’t touch by spacing holes appropriately. Keep rods separate for safety.
Adjust Rack Size
Based on measurements, alter the rack’s length. Remember, longer racks may need extra support.
Consider Adding Extensions
If your collection grows, you can add sections to your rack. Plan for future additions.
Test with a Few Rods
Before finalizing, test the rack with some rods. Adjust as needed for best fit.
May the holiday spirit fill your home with peace and joy!
